Launching your app is exciting. But sharing it with a long autogenerated link is not always ideal.
Connecting a custom domain allows your app to run on your own branded URL, such as:
yourapp.com instead of yourapp.vercel.app.
With AppForceStudio, you can deploy your app and connect your domain directly from the platform without needing complicated hosting setups.
Before deploying your app, you may want to make sure your screens and layouts look exactly the way you want. If you need to adjust your interface or update components, read our guide on How to Rework and Redesign Your App Screens in AppForceStudio.
In this guide, you will learn how to deploy your app, connect a custom domain, and configure DNS so your domain points to your live AppForceStudio app.
Note: These exact same steps also work in the AppForceStudio mobile app. The process is identical on mobile.
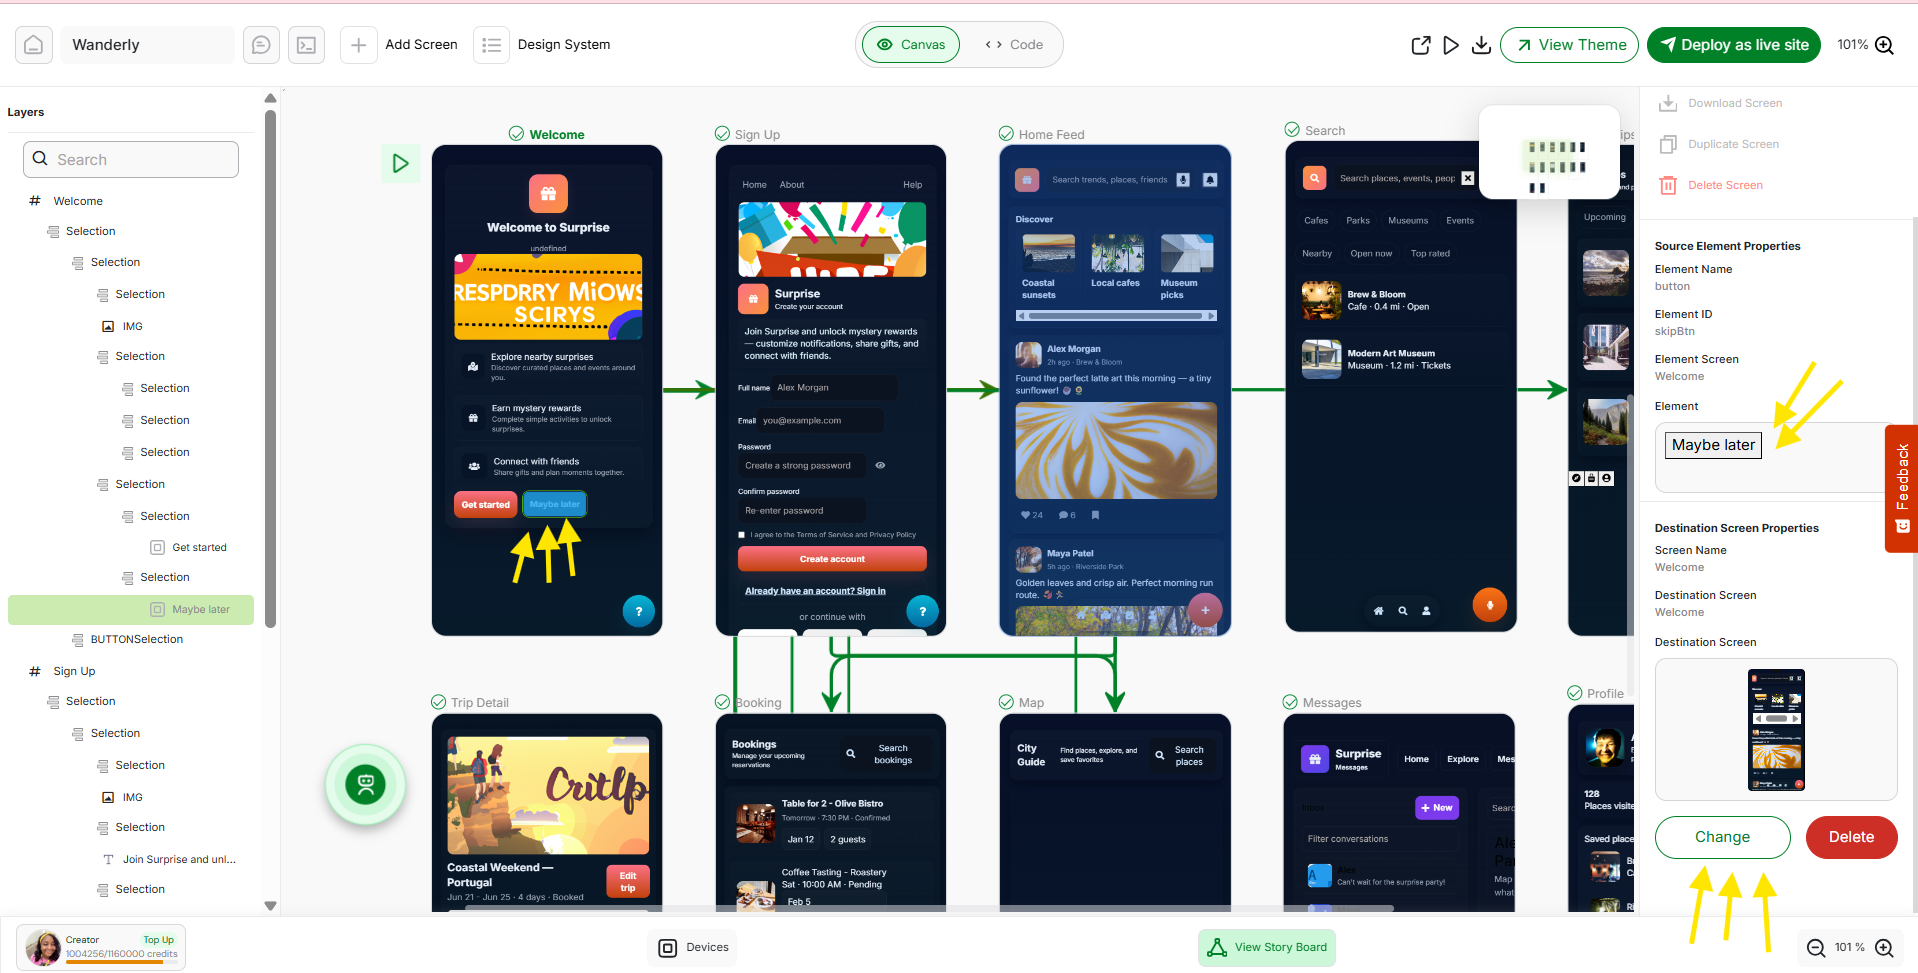
Step 1 — Open Your App Playground
First, open the Playground of the app you want to deploy. The Playground is where you design and build your app inside AppForceStudio.
While working inside the Playground, you can also manage your screens quickly using right-click actions.
Learn how to edit, duplicate, and organize screens faster in Right Clicking Options in AppForceStudio: Edit, Duplicate & Manage Screens Faster.
Once inside your project:
- Navigate to your app’s Playground.
- Look at the top right corner.
- Click Deploy as live site.
This starts the deployment process and prepares your app to go live.

Step 2 — Generate the Deployment Project
After clicking Deploy as live site, a deployment window will appear.
AppForceStudio needs to generate the project files required for deployment.
Click:
Generate project
This converts your app into a deployable web project and redirects you to Project Mode, where the deployment process continues.

Step 3 — Deploy the Application
Once the project has been generated, another confirmation window will appear.
Click:
Proceed to deploy
AppForceStudio will now begin building and deploying your project.
Wait until the progress reaches 100%. The platform will then confirm that your app has been successfully deployed.

Step 4 — Access Your Live App
After deployment finishes, AppForceStudio will show a Deployment Successful modal.
Here you will see:
- Site Name
- Deploy URL
- Custom Domain section
The Deploy URL is an automatically generated link where your app is already live.
You can copy this link and share it with anyone. It works immediately as a fully functioning live website.
This is useful for:
- testing your app
- sharing with clients
- collecting feedback
- demoing to investors

Step 5 — Add Your Custom Domain
To connect your own domain:
- Locate the Set Custom Domain section.
- Enter your domain name (for example
myowndomain.com). - Click Save Domain.
Once saved, your domain will appear as the Current Domain for the deployment.

Step 6 — Configure Your DNS
After saving your domain, click:
Configure DNS
AppForceStudio will display the exact DNS configuration instructions required to connect your domain.
These instructions show the DNS records you need to add inside your domain provider.

Step 7 — Update DNS in Your Domain Registrar
Open the platform where you purchased your domain.
Examples include:
- GoDaddy
- Namecheap
- Cloudflare
- Google Domains
- Bluehost
Go to your DNS management settings.
Then add the record shown in the AppForceStudio DNS instructions.
Example:
A Record
myowndomain.com → 76.76.21.21
Save the record.
This tells the internet that your domain should point to your deployed AppForceStudio application.
Step 8 — Wait for DNS Propagation
After saving the DNS record, the changes need time to propagate.
DNS propagation can take:
- A few minutes in some cases
- Up to several hours, depending on your domain provider
Once propagation completes, your domain will begin directing visitors to your live AppForceStudio app.
Removing a Custom Domain
If you ever want to disconnect a domain from your app:
- Open the Custom Domain settings.
- Click Remove next to the domain.
This will unlink the domain from the deployment.
Can This Be Done on the AppForceStudio Mobile App?
Yes.
You can deploy your app and connect a custom domain directly from the AppForceStudio mobile app.
The steps are exactly the same:
- Open your project
- Click Deploy as live site
- Generate the project
- Deploy the app
- Add your custom domain
- Configure DNS
Everything works the same way on mobile.
Why Use a Custom Domain?
Connecting a custom domain gives your app a more professional presence.
Benefits include:
- branded URLs
- easier sharing
- stronger credibility
- better user trust
- cleaner marketing links
Instead of sharing a long generated link, users can visit something simple like: yourapp.com
Once connected, your domain becomes the primary way users access your app.
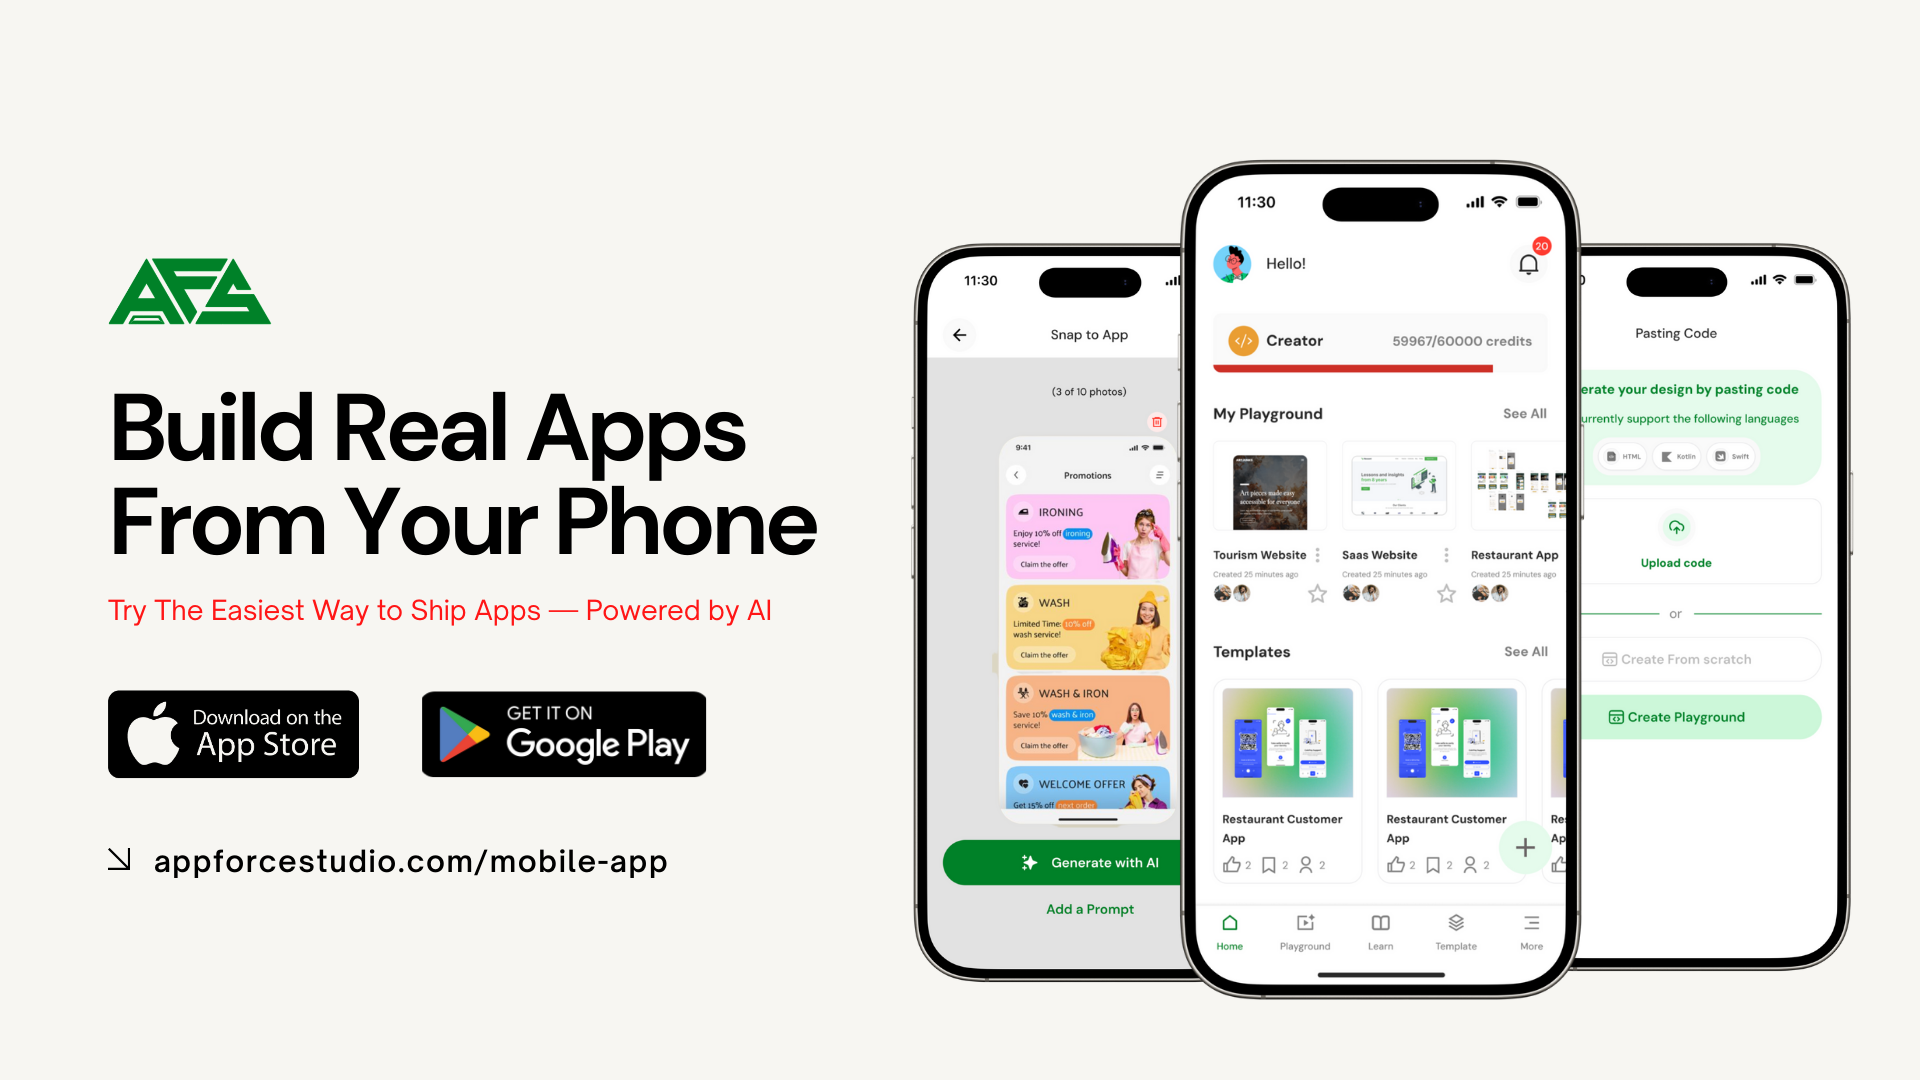
Build and Launch Your Own App Today
If you have an app idea, you can turn it into a real working app with AppForceStudio.
AppForceStudio makes it simple to go from idea → app → live website without complicated hosting setups.
Describe your app with a prompt, generate the screens, customize the design, and deploy it instantly.
Download the AppForceStudio AI App Builder from the App Stores and start building today.