If you’re trying to use the Playground Canvas inside AppForceStudio, this guide will walk you through exactly how it works and how to move confidently inside it.
The Canvas is your visual app-building space. It’s where screens connect, layouts evolve, and ideas turn into real app flows. Instead of jumping between multiple tools, everything happens in one structured environment.
Here’s how to use it properly.
Step 1: Open a Playground to Launch the Canvas
To use the Playground Canvas, start from your dashboard.
Click into any playground project.
The Canvas will load automatically.
This is your working space. Every screen, connection, and design element lives here.
Think of it as the control center of your app.
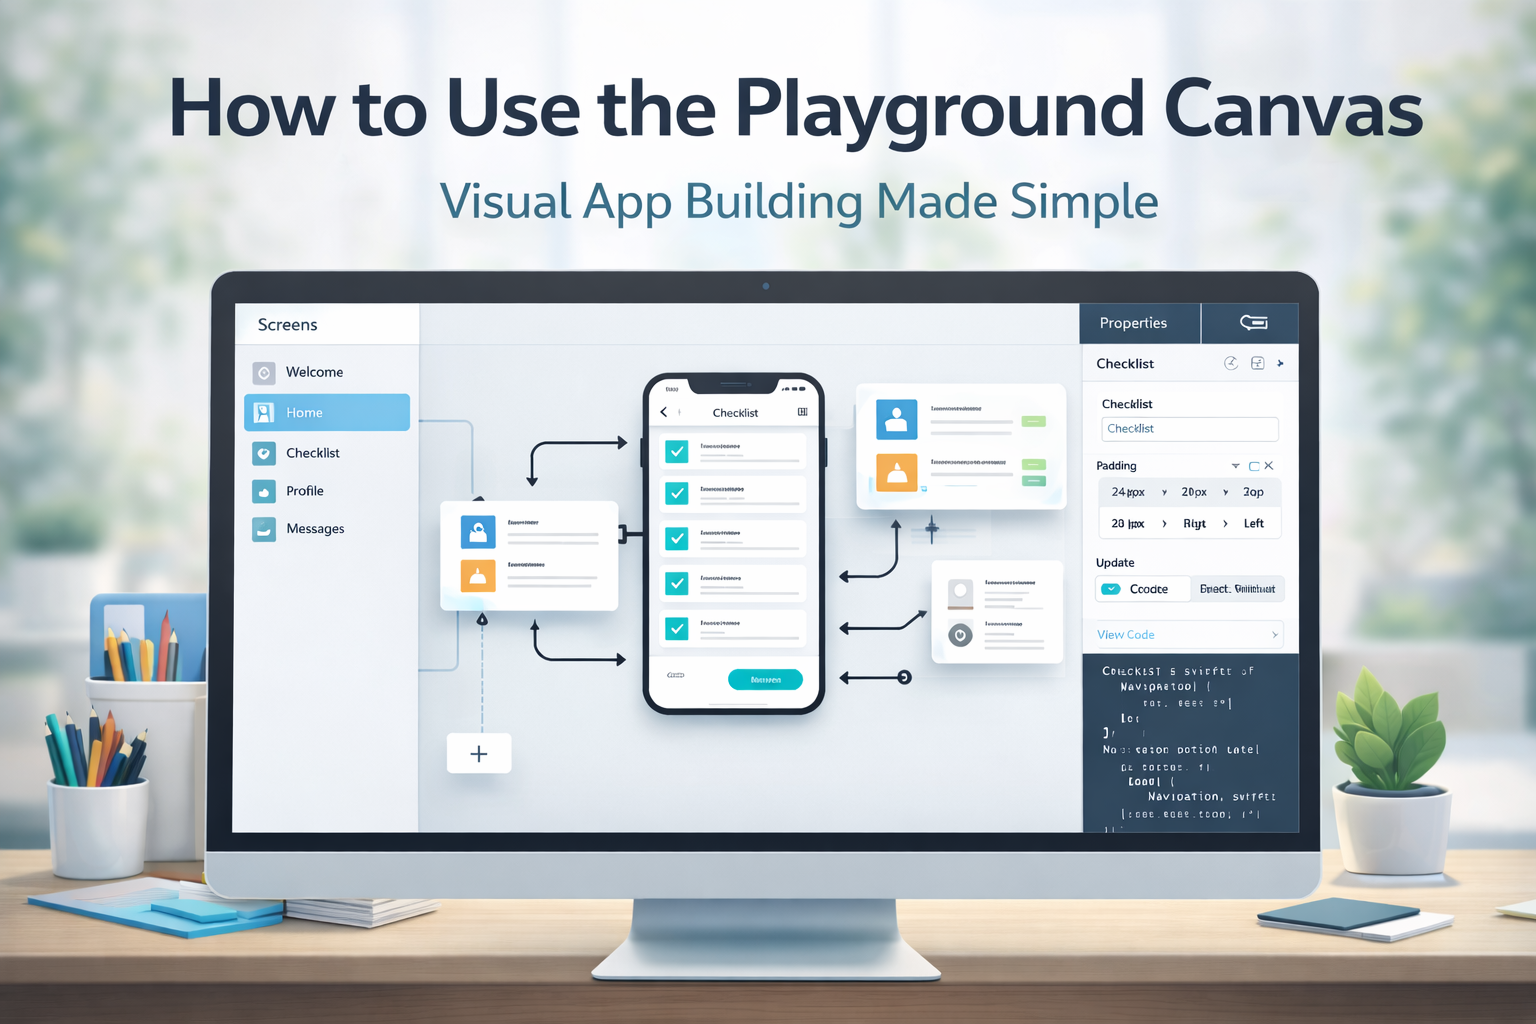
Step 2: Understand the 3-Panel Layout
When the Canvas opens, you’ll see three main sections. Understanding these panels is the key to working efficiently.
Center Panel — Your Visual Workspace
In the center, you’ll see your app screens laid out.
Here you can:
- Drag screens into position
- Zoom in and out
- Rearrange layouts
- See how your app flows visually
This is where structure becomes visible. Instead of imagining navigation, you can see it.
The center panel is built for clarity. It helps you think in flows, not fragments.
Left Panel — Screen List
On the left side, you’ll find a list of all your screens.
You can:
- Click a screen to focus on it
- Jump quickly between different parts of your app
- Keep track of your growing structure
As your app expands, this panel becomes essential for staying organized.
Right Panel — Properties and Code
On the right side, you can edit what you’ve selected.
Depending on what’s active, you can:
- Adjust styles
- Change layout properties
- Modify spacing, fonts, and elements
- Open the code editor
This is where visual design meets technical control.
If you want deeper customization, you can open the code editor and view or export real code directly from here.
Drag, Zoom, and Organize Your Flow
The Playground Canvas is not static.
You can:
- Drag screens to restructure your flow
- Zoom out to see the big picture
- Zoom in to focus on the detail
- Reposition screens as your idea evolves
This flexibility is important because app ideas rarely stay linear. The Canvas adapts as you refine your concept.
Why the Playground Canvas Reduces Friction
Many app builders separate:
- Design
- Flow
- Code
- Preview
The Playground Canvas brings these into one place.
Instead of explaining your idea in theory, you:
- See it
- Move it
- Adjust it
- Improve it
This reduces confusion and speeds up iteration.
You can explore the full breakdown in The Complete AppForceStudio Features List
Moving From Visual to Real App
The Canvas is not just a design board.
It connects directly to:
- Preview and prototyping
- Code generation
- Storyboarding
- Deployment
Everything you adjust in the Canvas supports your final build.
You are not designing in isolation. You are building in context.
A Simple Workflow to Use the Playground Canvas Efficiently
If you’re new, follow this sequence:
- Open your playground
- Review your screens in the left panel
- Organize them visually in the center
- Select elements and adjust properties on the right
- Preview your app
- Refine based on clarity
This keeps you focused and prevents overwhelm.
The Canvas Is Where Ideas Take Shape
The Playground Canvas is designed to be fast, visual, and intuitive.
It removes the need for multiple disconnected tools and keeps your entire app structure in one environment.
If you want to use the Playground Canvas and see how your ideas look as real screens, you can try it now inside AppForceStudio AI App Builder, available on web and mobile.
This is where your app starts becoming real.
Final Thoughts
When you use Playground Canvas consistently, app building becomes clearer and faster.
It removes tool-switching and keeps your entire structure visible.
You can start using Playground Canvas today inside AppForceStudio AI App Builder Mobile App, available on web and mobile.
Once your screens are organized inside the Playground Canvas and your flow is working, the next step is preparing for launch. Before you deploy, review The Founder’s Checklist: 10 Things to Do Before Launching an App to make sure your app is ready for users, testing, and production.