Deploying a live site means taking what you have built and making it available on the internet for everyone to access. Once you deploy a live site, your pages can be opened using a real link in any browser.
In this guide, you will learn how to deploy a live site step by step, even if you have never done it before.
What Does It Mean to Deploy a Live Site?
To deploy a live site means to publish your project so it can be viewed online.
Instead of staying in preview mode, your site gets a live URL that anyone can visit.
With AppForceStudio, you can deploy a website quickly and also connect a custom domain if you want.
Before You Deploy a Live Site
Before you deploy your live site, take a few minutes to review your project. This helps avoid broken pages or navigation issues.
Check Your Pages
- Open every page in your project.
- Confirm the text is correct.
- Confirm images and sections are visible.
- Make sure nothing important is missing.
Check Navigation and Buttons
- Make sure every button leads somewhere.
- Confirm links open the correct screen or page.
- Remove unused or broken buttons.
Preview the Full Flow
- Use Preview mode.
- Click through your site like a real visitor.
- Check both mobile and web views.
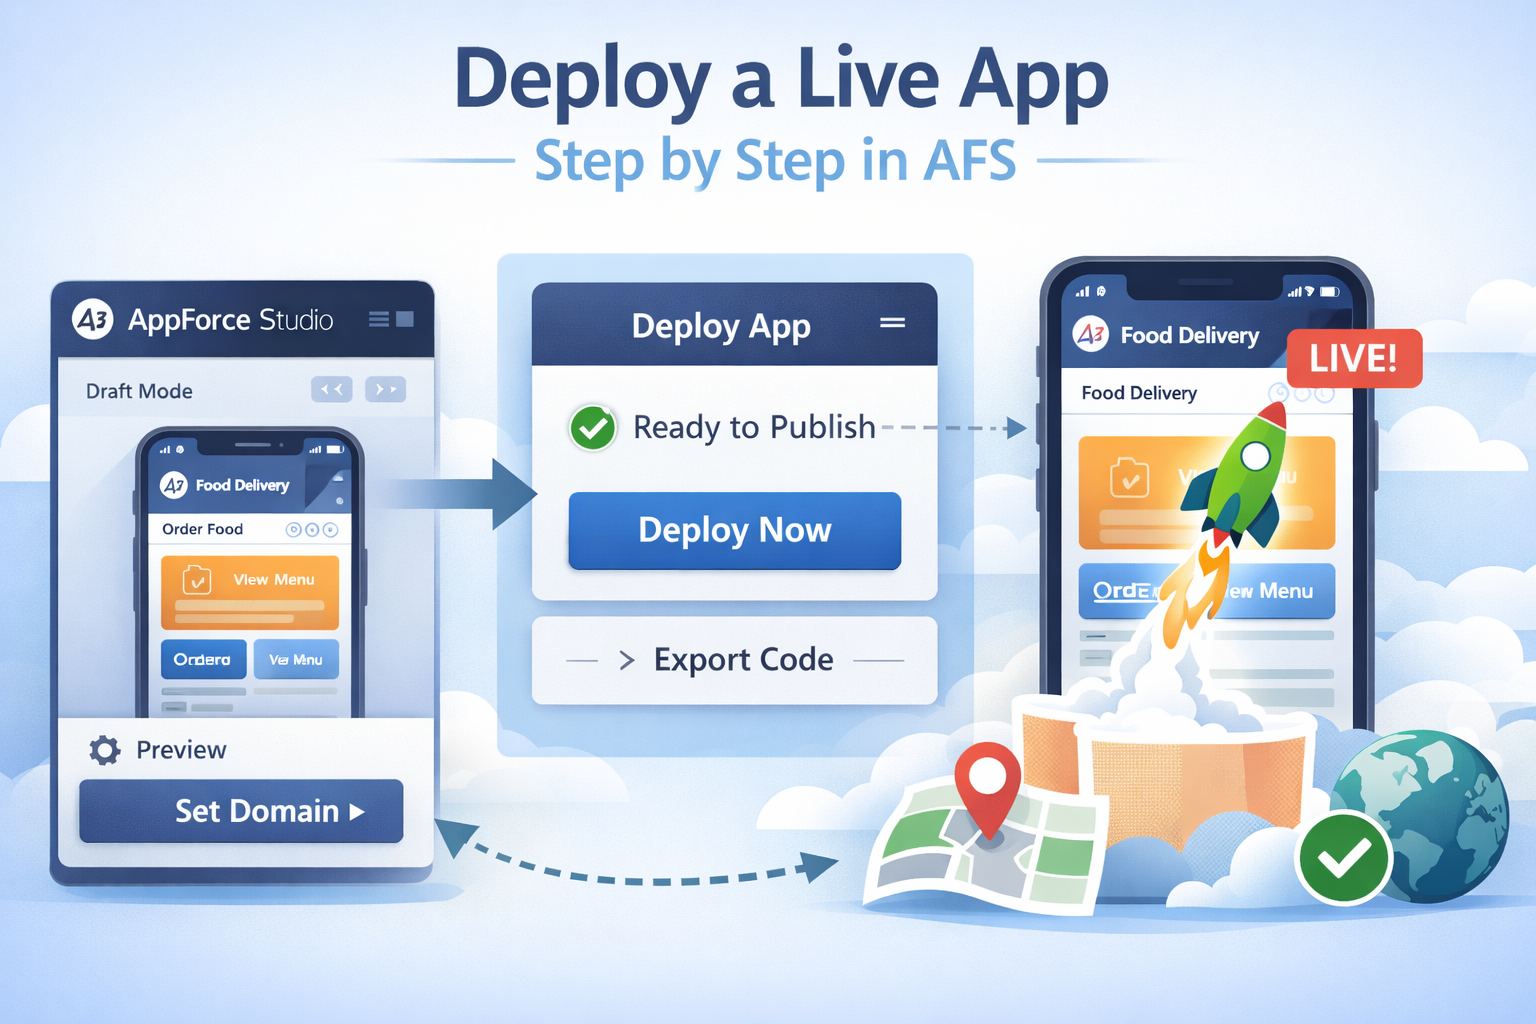
Step-by-Step: How to Deploy a Live Site
1: Open Your Playground
Log into AppForceStudio on the web or mobile and open the project you want to deploy.
Step 2: Do a Final Preview
Switch to Preview mode and test the full site again.
Confirm spacing, layout, and navigation are correct.
Step 3: Go to the Deploy Section
Inside your project, find the Deploy Website option.
This is where you publish your site to the internet.
Step 4: Deploy Your Live Site
Click deploy.
AppForceStudio will generate a live URL for your site.
Open the link in a browser and test it again.
Step 5: Connect a Custom Domain (Optional)
If you want to use your own domain:
- Add your domain inside the deploy settings.
- Follow the DNS instructions provided.
- Wait for the domain to connect.
- Test the site again after it is live.
Step 6: Test the Live Website
After deployment, confirm:
- Pages load correctly
- Buttons work
- Navigation flows properly
- Mobile view looks clean
- No content is missing
Common Issues When Deploying a Live Site
Buttons Not Working
Go back to your project and reconnect the buttons properly.
Preview again, then redeploy the site.
Site Looks Different When Live
Check that you previewed the correct screen size.
Adjust spacing and layout if needed, then redeploy.
Custom Domain Not Loading
Double-check your DNS settings.
Domain updates can take time, so test again later.
Live Site Deployment Checklist
Use this checklist before sharing your site publicly:
- Pages reviewed
- Navigation tested
- Preview completed
- Live link opened in a browser
- Mobile view checked
- Custom domain tested
- Link tested in incognito mode
Frequently Asked Questions
Can I update my live site after deployment?
Yes. Make changes to your project, preview again, and redeploy your live site.
Do I need coding skills to deploy a website?
No. You can deploy a live site without writing any code.
What is the difference between deploying a site and exporting code?
Deploying publishes your site instantly.
Exporting code allows you to host it elsewhere.
Deploying a live site does not have to be complicated. When you follow the right steps, you can publish your website quickly and confidently.